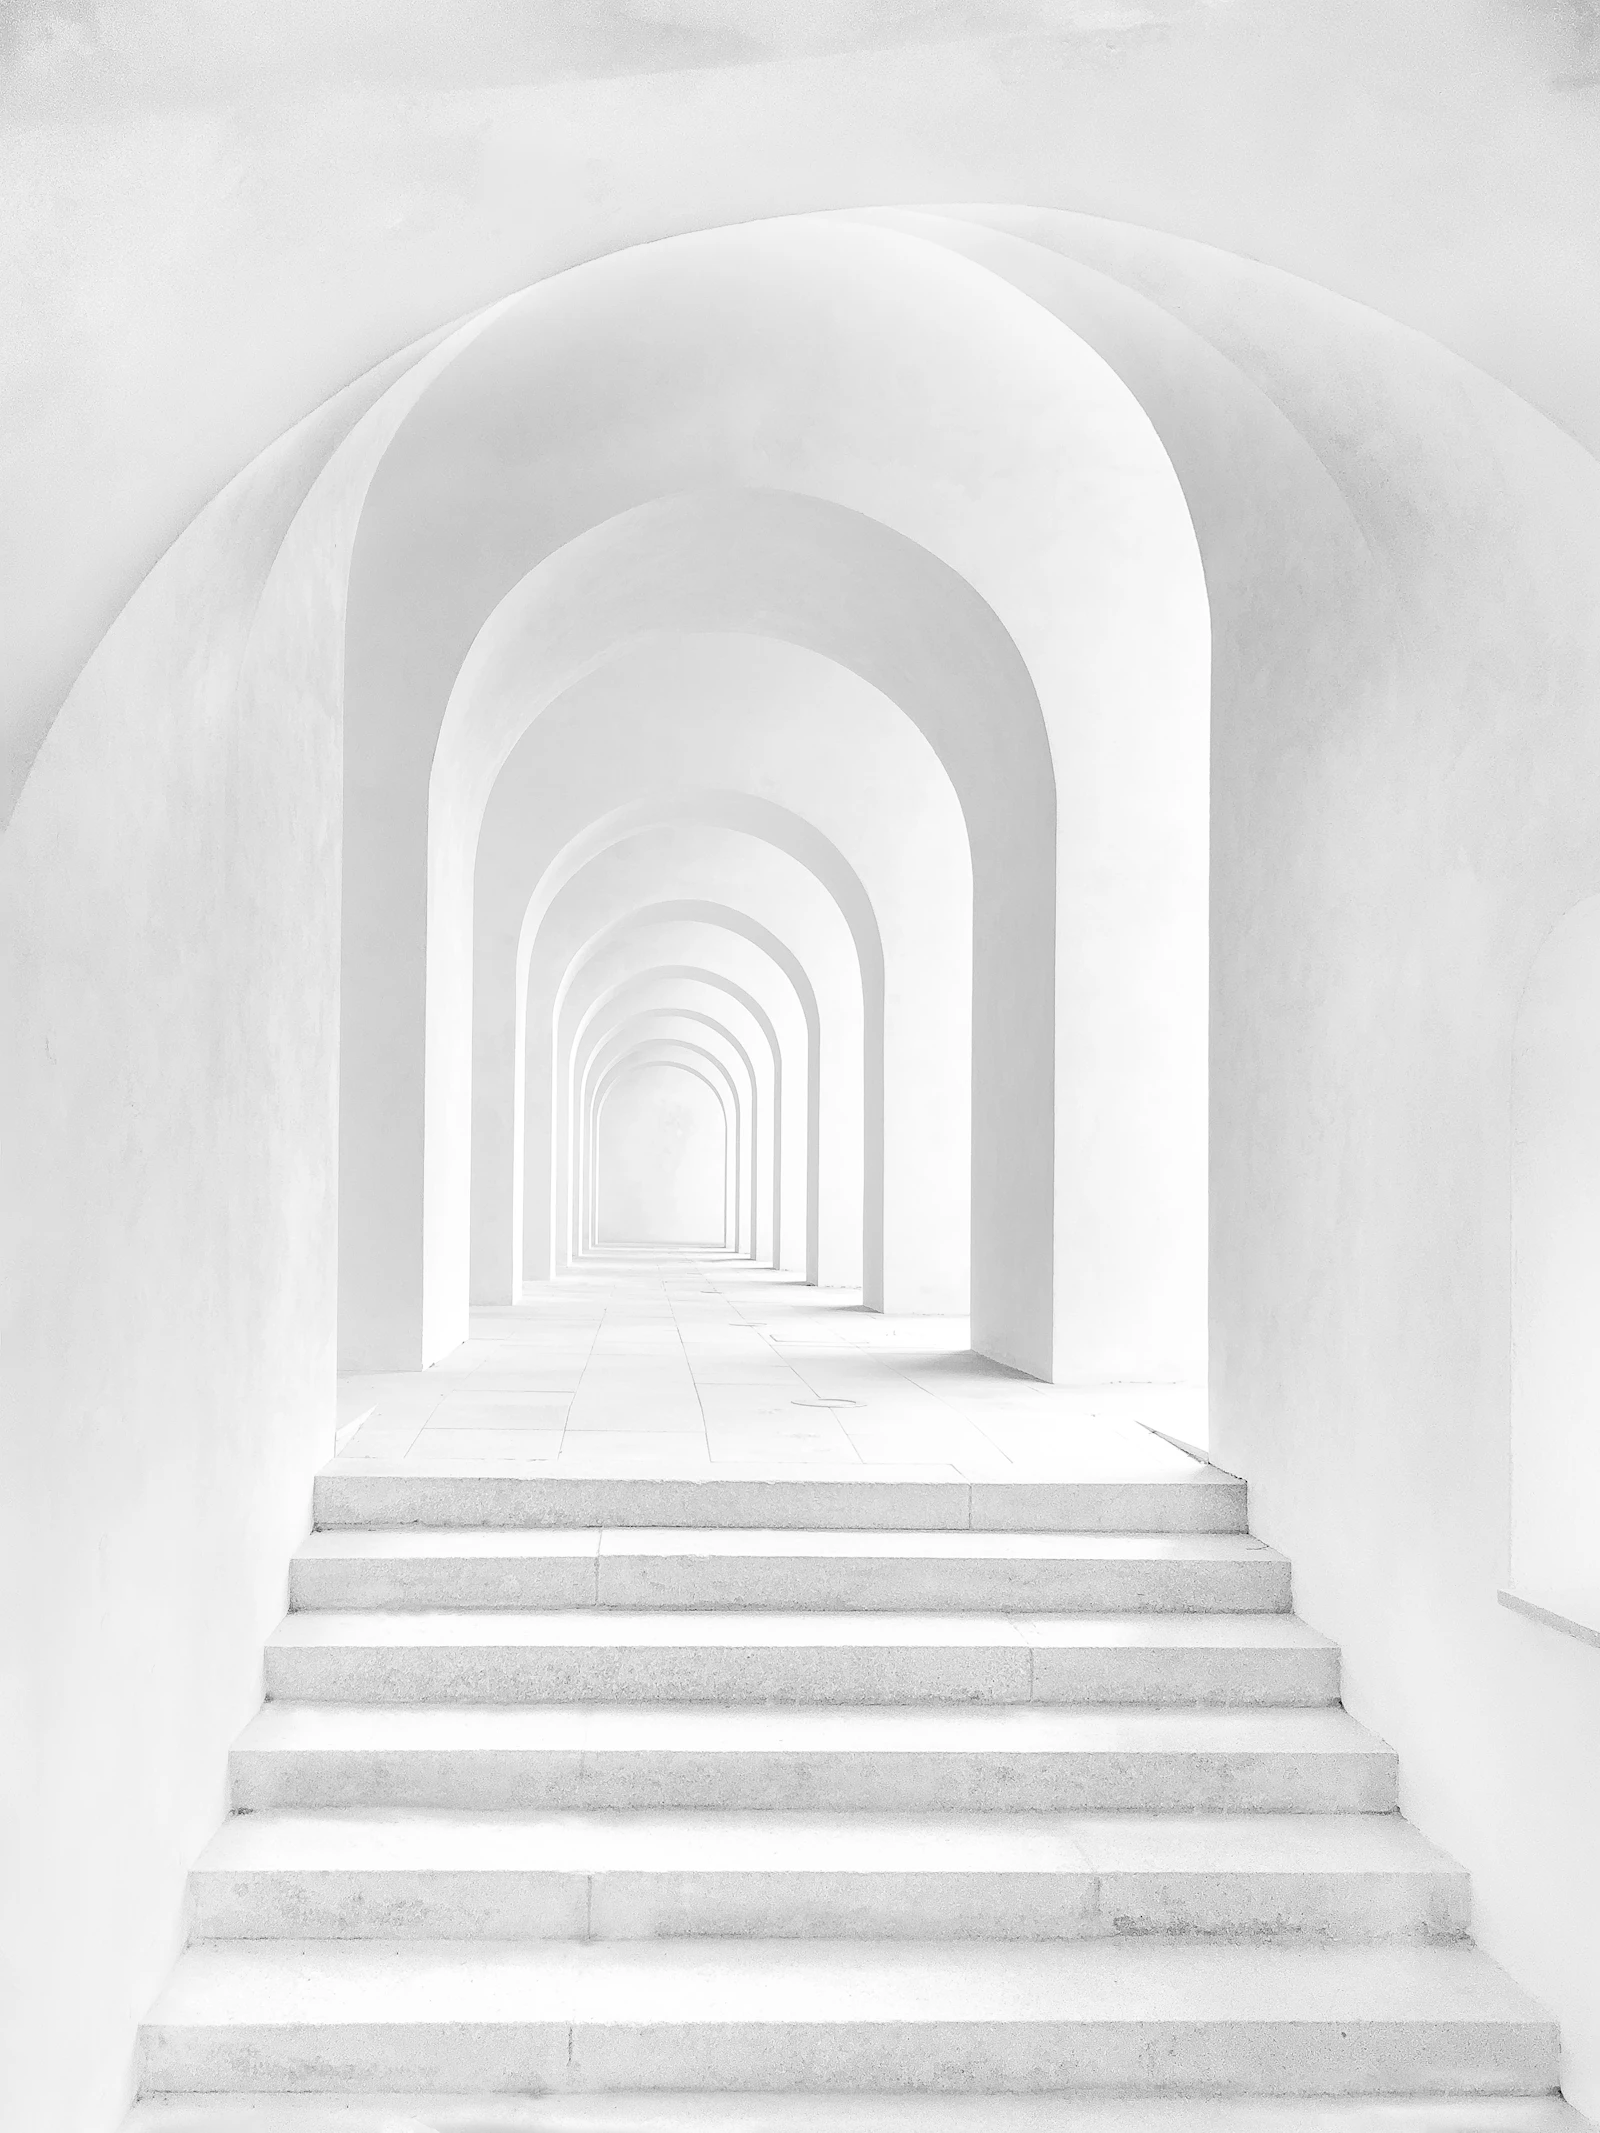
One-point perspective in a single picture: identical arches shrinking toward one vanishing point pull your eye straight into the depth.
One-point perspective in a single picture: identical arches shrinking toward one vanishing point pull your eye straight into the depth.
Composition decides where the shapes sit on a flat rectangle. Perspective decides whether there is a room behind that rectangle at all. It is the difference between a subject standing in front of a backdrop and a subject standing inside a world you feel you could walk into.
Hey friends. We have spent a lot of time lately on the surface of an image: the light, the color, the pose, the framing. Today we go one layer deeper, literally, and talk about the thing that makes an image feel like a place instead of a poster. That thing is perspective. It is the quiet architecture underneath every scene that convinces your brain there is space receding behind the subject, air between the foreground and the mountains, a floor you could step onto.
Here is why it matters for us specifically. A diffusion model is very good at rendering a beautiful subject and often surprisingly clumsy at placing that subject in believable three-dimensional space. Learn to see and prompt perspective and you fix the single most common reason an otherwise gorgeous generation feels flat, papery, or subtly wrong. We will cover what vanishing points actually are, the three flavors of linear perspective, how camera height rewrites the whole emotion of a shot, foreshortening for figures, and the exact words that make the model build depth on purpose.
Start with the one idea everything else hangs on. In the real world, parallel lines that run away from you, the two edges of a road, the top and bottom of a hallway, the rows of a parking lot, appear to converge as they get farther away, and they meet at a single spot called the vanishing point. Your eye reads that convergence as distance. It is not a stylistic choice, it is how human vision decodes depth, which is why a picture that gets it right feels instantly real and a picture that gets it wrong feels haunted in a way people cannot name.
Everything in this guide is really just a question of how many vanishing points are in your scene and where the horizon line sits relative to your subject. Once you can see those two things in a reference, you can ask for them in a prompt, and the model will build the space around your subject instead of pasting the subject onto a wall.
Linear perspective comes in three everyday varieties, and each one has a distinct feeling you can reach for deliberately.
| Type | What it looks like | The feeling it creates |
|---|---|---|
| One-point | You face a scene straight on and everything recedes to a single vanishing point, like a hallway or a straight road ahead. | Order, symmetry, calm, being drawn directly inward. Great for a subject centered at the end of a corridor. |
| Two-point | You view an object from a corner, so its two sides recede to two vanishing points on the horizon, like the edge of a building. | Natural, grounded, three-dimensional. This is how we usually see rooms and streets in real life. |
| Three-point | Two points on the horizon plus a third high above or far below, so verticals converge too. | Drama, scale, vertigo. Towering skyscrapers from the street or a dizzying view from a rooftop. |
You do not have to name the geometry in your prompt, and honestly most models respond better to the scene that produces it. Instead of writing "two-point perspective," describe the viewpoint that creates it: "viewed from the corner of the street, buildings receding on both sides." Instead of "three-point perspective," write "dramatic low angle looking up at towering buildings." Pair this with the framing fundamentals in our composition and framing guide, because leading lines and vanishing points are two names for the same magic working together.

Here is the setting that changes an image's entire emotion while barely changing its content: where you put the horizon line, which in practice means how high the camera sits. Same subject, same outfit, same light, three different heights, three different stories.
Prompt this with plain language the model already understands: "low angle shot looking up," "shot from below," "high angle looking down," "overhead top-down view," "eye-level portrait." These are among the highest-leverage words you can add, because a single one of them reframes the psychology of the whole picture. If you have read our camera and lens language guide, stack camera height on top of focal length: a low angle with a wide lens is the classic recipe for a subject that feels monumental.

Perspective is not just for architecture. It also governs the figure, and the name for it there is foreshortening. When a limb points toward the camera, it appears compressed and its nearest part looks dramatically larger, a hand reaching forward reads as huge, a foot kicked at the lens dwarfs the head behind it. Foreshortening is what makes a pose feel dynamic and dimensional rather than laid out flat like a paper doll.
Diffusion models find this genuinely hard, because a foreshortened limb looks "wrong" in a way the model was often trained to avoid, so it tends to flatten poses back toward the safe, side-on view. You fight that by asking for it directly: "arm reaching toward the camera, dramatic foreshortening," "dynamic pose seen from a steep angle." Then be ready to fix the result, because foreshortening is exactly where hands and proportions go sideways. This is where the repair techniques from our inpainting guide earn their keep, and it pairs naturally with everything in our posing and body language guide.
There are actually two kinds of perspective and the best images use both. Linear perspective is the geometry we have been discussing, lines converging to vanishing points. Atmospheric perspective is the other half: as things recede, air and haze wash them lighter, cooler, and lower in contrast, which is why distant mountains look pale blue and faded. Linear perspective tells your eye how far by shape. Atmospheric perspective tells your eye how far by color and clarity. Use one and you get a diagram. Use both and you get a world.
Prompt atmospheric depth with cues like "distant hills fading into haze, atmospheric perspective, soft blue background, sharp detailed foreground." We went deep on exactly this, fog, haze, and layered depth, in our depth and atmosphere guide, so treat that as the companion to this one: linear perspective builds the skeleton of space, atmospheric perspective fills it with air.
Once you start seeing perspective, you will start spotting the model's tells, and catching them is what separates a clean image from an uncanny one. The usual suspects:
For scenes with strict geometry, this is also the moment a control tool pays off. When you need the perspective to obey exactly, feeding a reference through ControlNet locks the structure while the model handles the styling, and we covered that workflow in our ControlNet composition guide.
The perspective cheat sheet: Decide camera height first, because it sets the horizon and the mood. Add at least one receding element so there is a vanishing point to read. Reach for a low angle when you want power and scale, a high angle when you want vulnerability or pattern. Use foreshortening to make poses pop, then inpaint the hands. And finish with atmospheric haze in the distance so linear depth and color depth agree.
Perspective is invisible when it works and impossible to ignore when it fails. You do not need to draw a single guideline or memorize a formula, because a diffusion model already understands the language of viewpoints, angles, and receding space, it just needs you to specify them instead of leaving the room-building to chance. Choose your camera height on purpose. Give every scene something that recedes. Ask for the drama of a low angle or the tenderness of a high one. Do that and your subjects stop floating on a flat wall and start standing inside a place with air and distance and a floor.
From here, layer perspective onto the rest of the craft: set the mood with our depth and atmosphere guide, build the world behind your subject with the backgrounds and environments guide, and take your best result through the finishing workflow. You can browse finished results in our galleries, and if you are still choosing a tool, the complete guide to AI image generators notes which platforms give you real angle and structure control.
Happy generating, and send me the deepest, most walk-into-able scene you build this week!